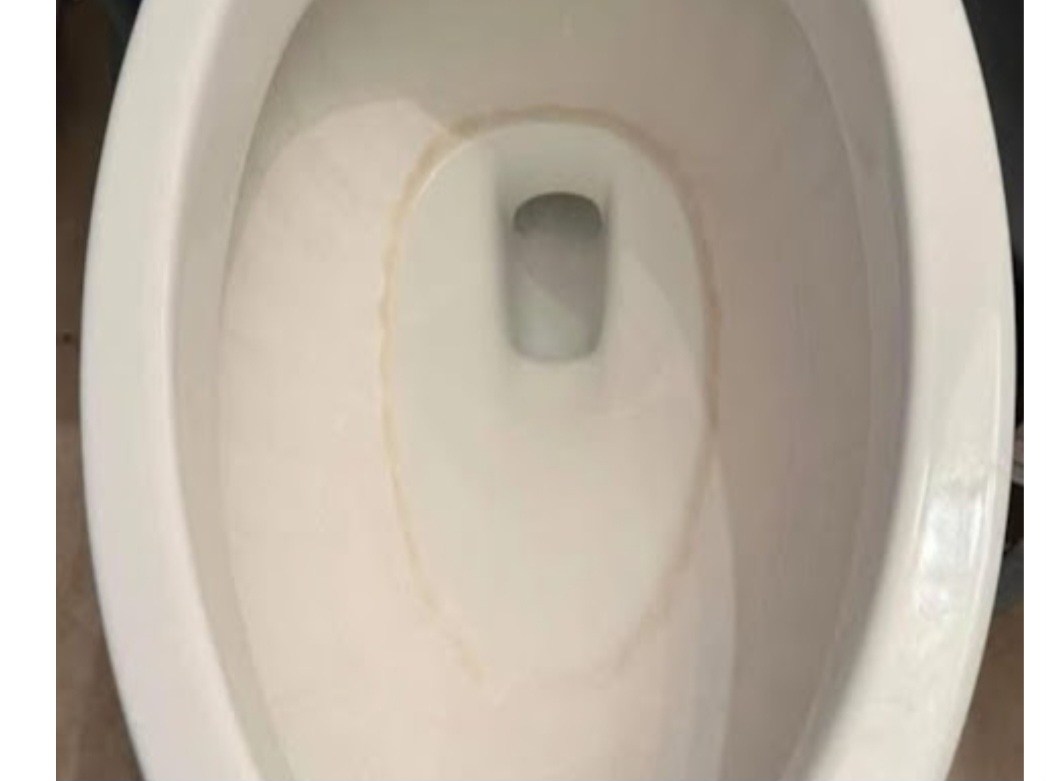
Hard water stains can be a persistent problem in many households. These chalky white or yellowish deposits appear on faucets, glass, tiles, and other surfaces due to the high mineral content in hard water — primarily calcium and magnesium. While they may seem tough to remove, there’s a simple, eco-friendly solution: vinegar! Its natural acidity breaks down mineral buildup without the need for harsh chemicals. Let’s dive into the process step by step.
Why Vinegar Works
Vinegar contains acetic acid, which dissolves the minerals responsible for hard water stains. It softens the deposits, making them easy to wipe away. Plus, it’s safe, affordable, and readily available in most kitchens. White distilled vinegar is ideal for cleaning, as it’s colorless and leaves no residue.
What You’ll Need
Before starting, gather these simple materials:
- White distilled vinegar
- Spray bottle
- Microfiber cloth or sponge
- Old toothbrush (for scrubbing crevices)
- Bowl or container (optional)
- Baking soda (optional, for tougher stains)
- Gloves (optional, if you have sensitive skin)
Step-by-Step Process
Step 1: Prepare the Vinegar Solution
- Pour undiluted white vinegar into a spray bottle. For light stains, you can dilute it with equal parts water.
- If you prefer not to use a spray bottle, pour the vinegar directly into a bowl.
Step 2: Apply the Vinegar
- Spray the vinegar directly onto the hard water stains.
- For areas like faucets or showerheads, soak a cloth or paper towel in vinegar and wrap it around the fixture.
- Let the vinegar sit for 15 to 30 minutes. For stubborn stains, you can leave it for up to an hour. The acidity will soften the mineral deposits, making them easier to remove.
Step 3: Scrub the Surface
- After soaking, scrub the area with a microfiber cloth or sponge.
- For tight spots, such as around faucet handles or between tiles, use an old toothbrush to scrub away loosened deposits.
- If stains are still visible, sprinkle a bit of baking soda on the surface and scrub again. Baking soda adds gentle abrasion, boosting the cleaning power without scratching surfaces.
Step 4: Rinse and Dry
- Once the stains are gone, rinse the area with clean water to remove any vinegar residue.
- Dry the surface with a clean cloth to prevent new water spots from forming.
For Showerheads and Faucets:
If you’re dealing with mineral buildup inside a showerhead or faucet:
- Remove the showerhead or aerator if possible.
- Submerge the part in a bowl of vinegar for 1 to 2 hours (overnight for severe buildup).
- Scrub with a toothbrush, rinse thoroughly, and reinstall.
If you can’t remove the fixture, fill a plastic bag with vinegar, secure it around the showerhead with a rubber band, and let it soak.
Preventing Future Stains
To keep surfaces looking spotless:
- Wipe down fixtures after each use to prevent water from drying and leaving minerals behind.
- Apply a thin layer of car wax to faucets and glass doors to repel water and reduce buildup.
- Install a water softener if hard water is a persistent issue.
Conclusion: Natural and Effective Cleaning
Hard water stains don’t stand a chance against vinegar’s natural cleaning power. With just a few simple steps, you can restore your surfaces to their original shine — all without using harsh chemicals. Not only is this method effective and affordable, but it’s also eco-friendly, making it a win for both your home and the environment. So next time you see those pesky mineral stains, grab a bottle of vinegar and let its acidity work its magic!
Happy cleaning 😉 !